Seaweed
Resources
Kelp Pickles Recipe
-
Learner Limbach 2019
INGREDIENTS (for 12 pint jars)
Kelp
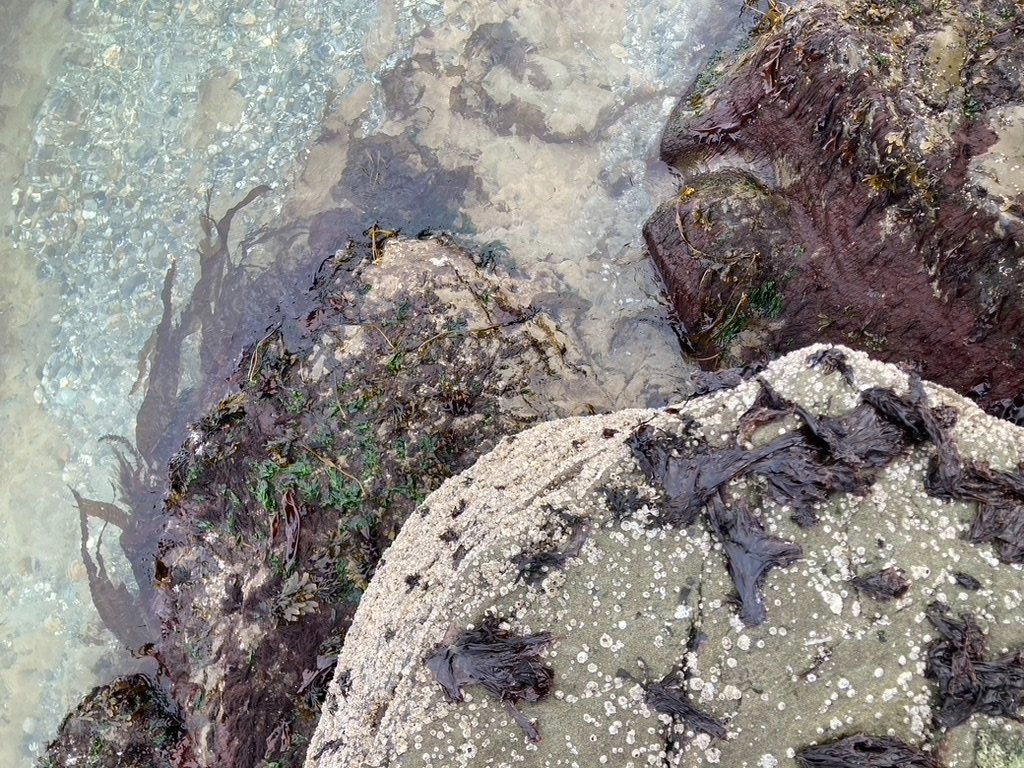
2 bullwhip kelp whips, cut into small roundsNote: Harvesting attached stipes (whips) kills bullwhip kelp plants. Only harvest whips if they are already detached and free floating but still have good tissue integrity.
Brine
6 pints water (12 cups)
3 pints vinegar (6 cups)
½ cup saltSpices (per pint jar)
½ tsp mustard seed
½ tsp black peppercorns
¼ tsp whole coriander
¼ tsp red chili flakes (or sub any hot pepper fresh or dried) *for light spice - omit if you don’t like spicy or increase for extra spicy
¼ tsp turmeric and/or curry
¼ tsp dill weed (or sub fresh dill weed and/or dill umbel)
3-4 cloves of fresh garlic (can sub or add fresh garlic scapes)
A few slices fresh onion
2 small-medium sized grape leaf (this prevents the kelp rings from getting mushy over time)
2 bay leavesINSTRUCTIONS
Prep the Jars: Clean Ball jars and lids with soap and hot water. Set aside.
Make the Brine
Calculate how much brine you will need for your Kelp Pickle batch. You will need about 9 pints of brine for 12 pints of pickles.
In a cooking pot, combine water and vinegar in a 2:1 ratio (6 pints water and 3 pints vinegar will cover a 12 pint case of canning jars.) Use distilled white vinegar and clean water.
Mix in salt to taste—about 1 cup per 2 gallons of brine is a good guideline.
Note: Use non-iodized pickling/canning salt. (Regular table salt can cause discoloring and cloudiness due to the iodine and other additives.)
Heat brine on stove and bring to a rolling boil.
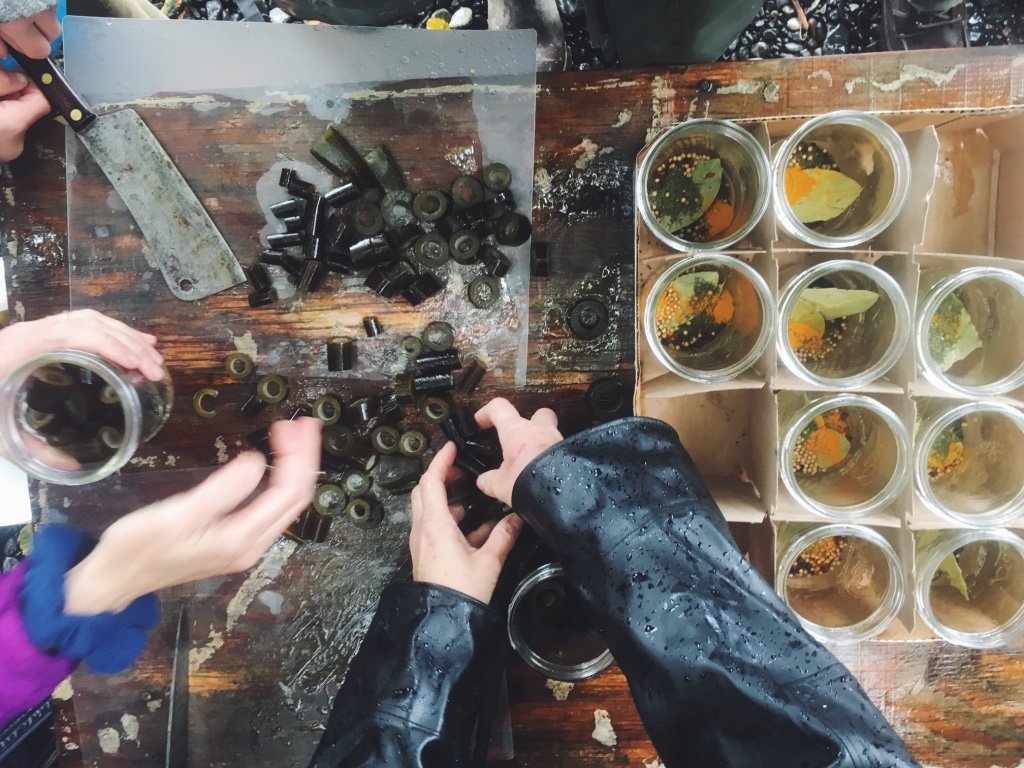
Add Spices to Jars (organic if possible)
While brine is heating up, add spices to jars.
Feel free to adjust spices to your preference and adapt spice blend to include seasonal ingredients as you like.
ChopKelp
Chop kelp into 3/8-inch rings and pack them into the jars, filling only up to the jar lid threads.
Tip: Consistent ring thickness helps the pickles hold chevre (goat cheese) better.
Add the Brine
Keep brine boiling and ladle it into the jars, covering kelp rings and leaving ½ inch of head room to allow jars to seal.
Quickly wipe the jar rims if needed, then place the lids on. Screw on the metal bands to “finger-tightness”—use only light pressure. The bands need to be slightly loose to allow air to escape during sealing.
Important: Fill jars and place lids quickly to retain heat. If the jars cool too much, they won’t seal.
Allow Jars to Seal
Set the filled jars aside gently, making sure they’re not touching each other, and wait for them to seal.
Note: If any jars haven’t sealed after 2 hours, they probably won’t seal on their own. Submerge unsealed jars in a boiling water bath for 5–10 minutes, then remove. They should seal shortly afterward.
For best flavor, cure kelp pickles 2-3 months before eating and eat within 1 year of making. Refrigerate after opening.
Kelp pickles are most crisp/firm when:
a grape leaf or other tannin-rich leaf is included in the jar
when a water bath is not used to seal jars (but necessary if jars do not seal after initial canning and you want don’t want to store them in the fridge)
and the sooner you eat them!
Recommended Uses: Put kelp pickles on tacos, burgers, salads, pizza, etc. Stuffed with chevre (goat cheese) and eaten directly. The brine and spices are also great in rice and beans, potatoes, salad dressings, and more!