Seaweed
Resources
Seaweed Pressing Instructions
-

🌿 Seaweed Pressing Process
🧰 What You’ll Need
For Arranging
Herbarium or watercolor paper (140 lb or heavier recommended)
Tweezers, skewers, paintbrushes, or pencils (optional—for arranging)
Paper cut-out templates (optional—for shaping designs)
Vegetable glycerin (optional—for presoaking)
Optional: For Float Method
(Helps with delicate seaweed placement)Dish tub, ceramic baking tray, or shallow basin (large enough to fit your paper)
Freshwater or seawater
Syringe (optional—for gently moving water/seaweed)
For Pressing
Clean cloths (silky fabric or disposable polyester dishcloths)
Newspaper
Corrugated cardboard
Plant/flower press or heavy books
For Preservation
Thermal laminator
Museum-grade glass frame
UV protective spray or spray fixative
Elmer’s glue (optional—for affixing dried seaweed to paper)
Archival storage sleeves: clear, acid-free plastic sleeves (e.g., Mylar or polypropylene) for flat storage
Decoupage or gel mediums (experimental): Such as Mod Podge or Golden Soft Gel
🌊 1. Arranging Seaweeds
Begin by arranging seaweeds on herbarium paper or watercolor paper in your desired design.
Tips for Arranging
💧 Float Method (works especially well for delicate, filamentous seaweeds):
Fill your shallow basin or tray (large enough to fit your paper) with 1/2 inch to 1 inch water or seawater.
Float your paper in a shallow layer of water and lay seaweeds on top.
Use a syringe to gently move water and seaweed into place, or use skewers or tweezers to help with placement.
Once seaweeds are arranged to your liking, carefully peel the paper out of the water and let it drip dry before pressing.
Tips for success with Float Method:
Wet the paper fully first, then float it back up—this helps seaweeds settle more easily.
Allow seaweeds to rest for a minute before lifting—surface tension helps them stay in place.
Lift slowly from one corner at a diagonal angle to reduce shifting.
Slide a board or second sheet underneath to support the lift, if needed.
After lifting, lay the paper on a towel or newspaper and gently blot from underneath to remove excess water.
🌫️ Partially Dry and Rewet:
Let seaweeds partially dry until just pliable, then rewet or blot with water as needed while arranging—this can make handling and placement easier.
Soak seaweeds in a mixture of 1 part vegetable glycerin to 1 part water for 48 hours, using a weight to keep them submerged. This helps soften and preserve the seaweeds, making them more pliable for pressing or other artistic uses.
🛠️ Helpful Tools:
Use skewers, paintbrushes, tweezers, and pencils to position seaweeds.
🔲 Use Templates:
Try a paper cut-out (e.g., an inverse circle) to shape a design like a wreath.
🪸 Pressing Thicker Seaweeds (e.g., bull kelp, bladderwrack):
Squeeze out moisture from bladders before pressing.
Cut a cross-section of thicker pieces for even pressing.
📚 2. Pressing Your Design
Layering materials:
Place a clean cloth over your design (silky fabric or disposable polyester dishcloths work best).
Use 3–4 cloth layers above and below the artwork, plus newspaper for absorbing moisture.
Sandwich the layers in this order:
Corrugated cardboard → newspaper → cloth → seaweed + paper → cloth → newspaper → corrugated cardboard
Pressing methods:
Use a plant/flower press, or
Lay the sandwich on a flat surface and press down with evenly distributed weight (e.g., heavy books).
Drying:
Check after 24 hours for excessive moisture (without fully opening). Replace any damp materials to prevent mold.
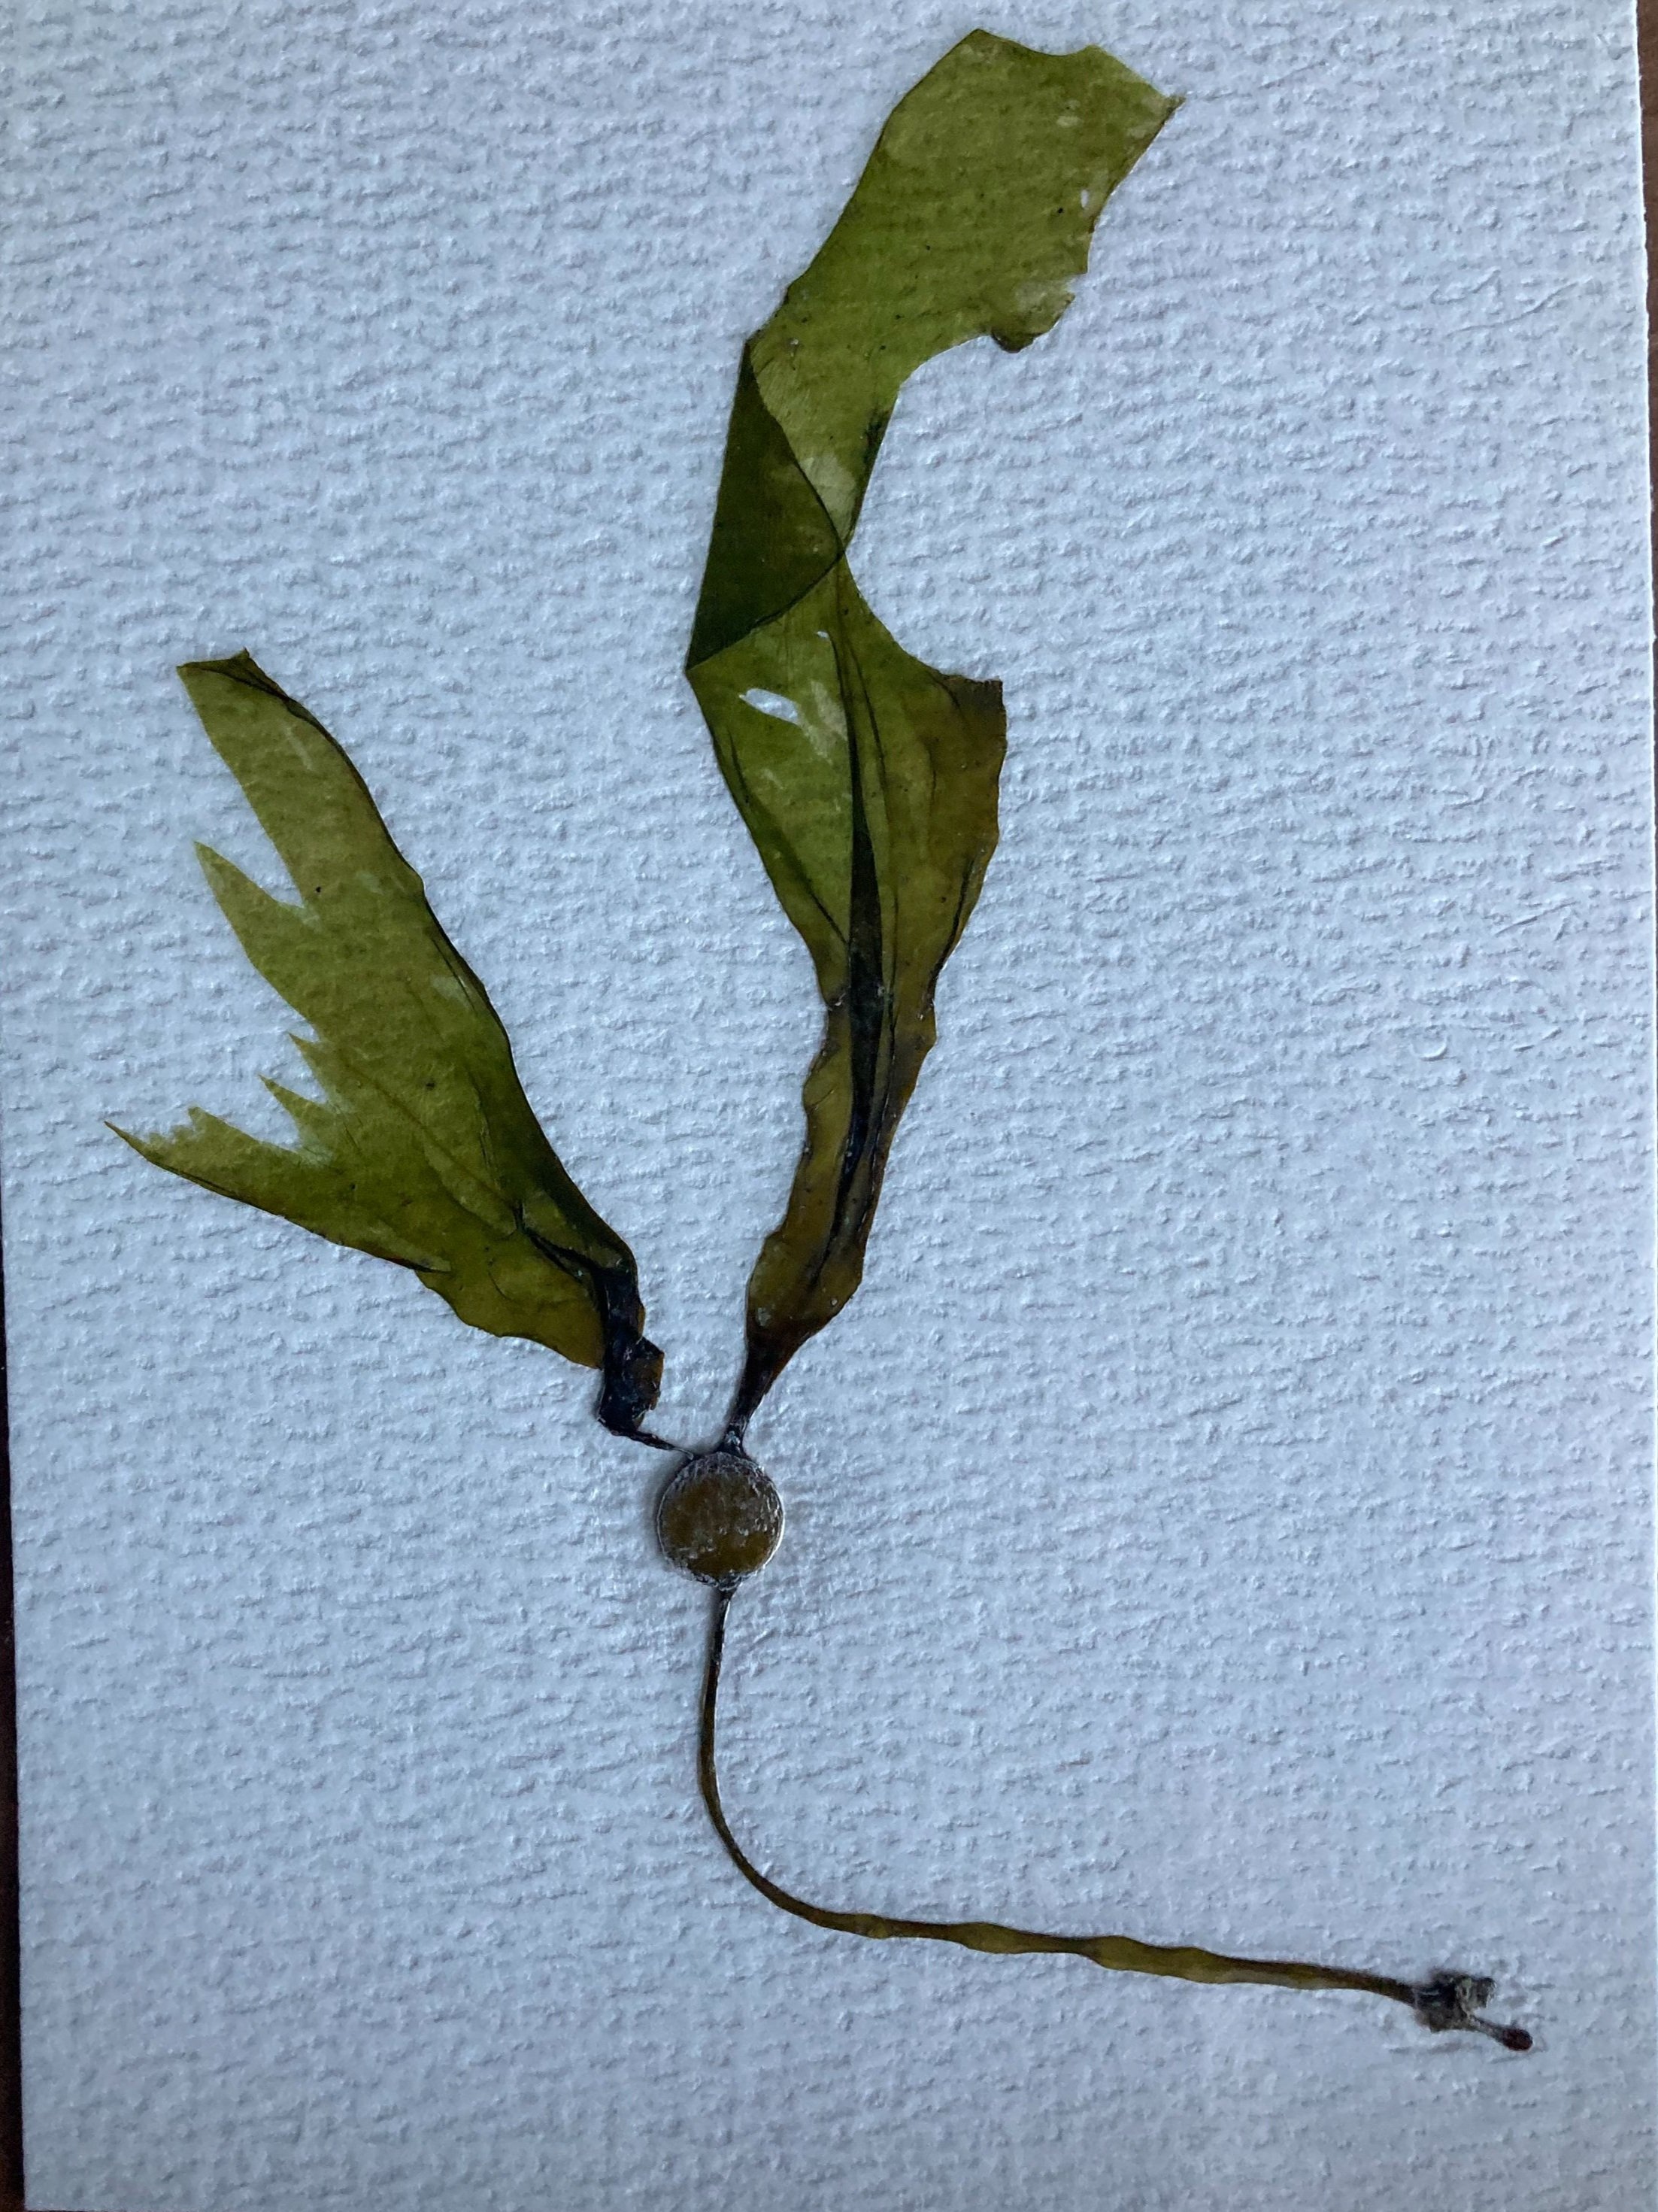
Let the press set for at least 1 week. Periodically check for mold and swap out wet layers as needed. Complete drying may take longer than 1 week.
When dry, carefully remove layers to reveal your pressed seaweed artwork.
🖼️ 3. Preservation
Preservation is highly recommended as seaweeds will readily degrade with exposure to moisture in the air and sunlight.
Options:
Laminate with no-heat self-laminating sheets
Frame with museum-grade glass
Spray with UV protective fixative
Hang in a low-light area
If needed, you can glue seaweed to paper with Elmer’s glue or apply a fixative spray
Clear, acid-free plastic sleeves (like Mylar or polypropylene) for flat storage
Decoupage or acrylic gel mediums (experimental): e.g., Mod Podge or Golden Soft Gel can be brushed over the seaweed to seal it in place. (Note: This may change texture or color but offers creative flexibility.)
🔗 More Resources
👉 Video tutorials on seaweed pressing are available on the Seaweed Resource page, under “Seaweed Artwork”